
Mar
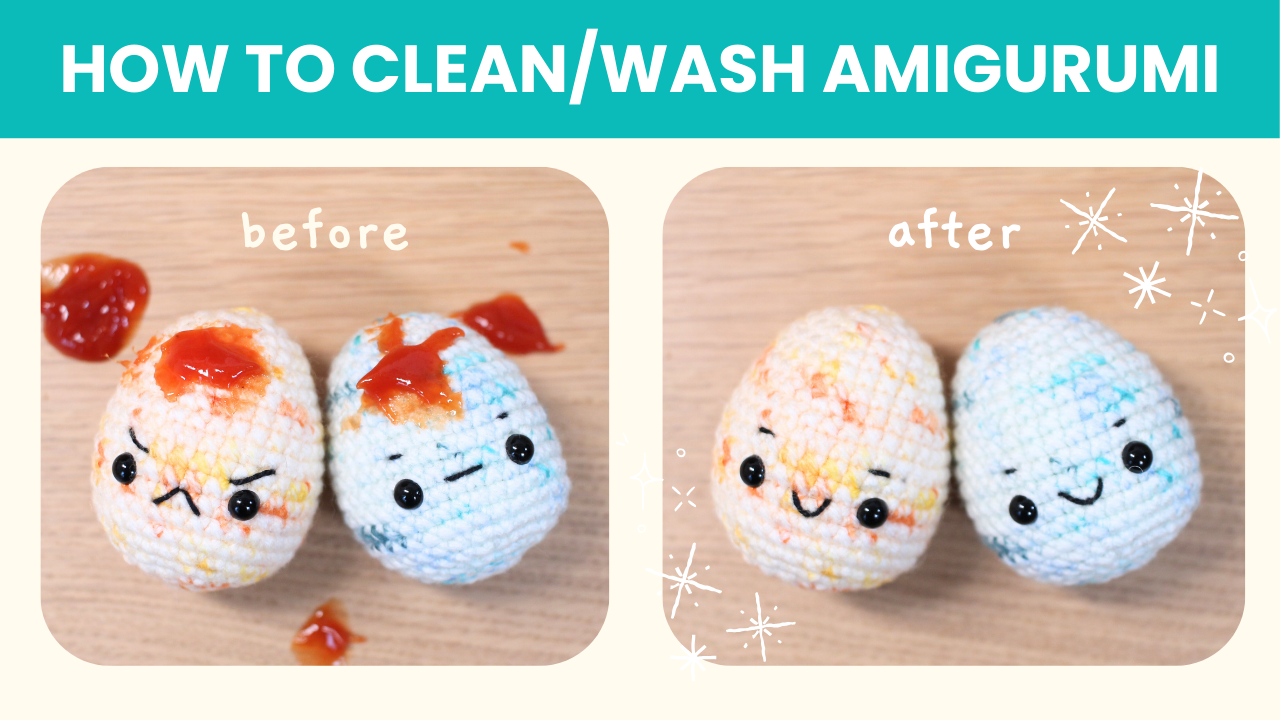
Amigurumi toys are delicate, especially if they’re made with plush or chenille yarn. Washing them the wrong way can cause stretching, surface pilling/shedding, or misshaping — so in today’s post, I’m going to be sharing the safest methods I personally use for my handmade crochet plushies.
For those of you who prefer to watch a video instead, you’ll find the full video on my YouTube channel , or just watch the video below!
My 4-year-old has always loved playing with the toys I crocheted. She treats them like they’re her babies, cuddles them whenever she’s sick, and drags them around everywhere she goes. Cute, but also kinda gross. This means that for the past few years, I’ve had to clean my fair share of amigurumi toys.
So for those of you who are in a similar situation or simply just want to do some spring cleaning, here’s how I clean my amigurumi toys.
How to Clean and Wash your Amigurumi Crocheted Plushies
There are a few different methods for cleaning your amigurumi, and the method you choose will depend on how dirty your toys are and the materials you used to crochet your toys.
To demonstrate, I’ve dipped my toys into ketchup and soy sauce. With ketchup representing a more stubborn stain that requires a deeper clean, and soy sauce representing a lighter stain.

For each sauce, I’ve dipped toys made from 3 of the most common types of yarn used for amigurumi – chenille, 100% cotton, and 100% acrylic yarn.
In this post, I’ll be going over the following methods:
- Spot Cleaning
- Hand Washing
- Machine Washing
In each section, I will also be sharing the products I use for each method as well as some tips and tricks that I’ve learned through the past few years. Some of the links in this post are affiliate links, you can read more about them here.
Spot Cleaning Your Amigurumi Toys
The first method is spot cleaning. This is something you will need to do for anything that has a visible stain, even if you are planning to deep clean it. Some stains are a bit more stubborn, like stains from thicker sauces. And in those cases, it’s a good idea to give it a spot clean immediately then proceed to give it a deeper clean when you have more time.
Here are the items you will need to spot clean your toys:
- Clean Washcloth
- Wool Wash or Gentle Laundry Detergent (you can also use dish detergent if you’re in a pinch)
- Sink with Running Water
- Clean Towel
- Drying Rack (or just a clean surface where you can allow your toys to air dry) [Canadian Link]

To spot clean your amigurumi toys, start by fully saturating your washcloth with some warm water. Apply a bit of gentle laundry detergent onto the washcloth, then rub the washcloth together to create some suds.
Locate the stain on your toy, then dab the stain with the soapy portion of the washcloth. You can gently rub the detergent in in circles to try to work out the stain. Try your best to not agitate the surface too much, because it could cause pilling or fibres to shed.

Rinse the detergent off the surface of the toy with some running water. If the stain persists, you can repeat the steps again to be safe. Just keep in mind that most stains will lighten slightly after they dry too.
If your toys are really wet, place them into a clean towel and squeeze the toys in the towel to wick out most of the moisture. Once you’ve done that, you can lay your toys out in a well-ventilated area to allow them to air dry fully.

Hand Washing Your Amigurumi Toys
For amigurumi toys made with wool or more delicate yarns like chenille that require a deeper clean, I recommend hand washing. Wool can get felted if agitated too much, and chenille yarn shreds easily. This means that toys made with these materials can benefit from a gentler spa day.
Amigurumi toys made with sturdier materials (like cotton) but have more delicate details should also be hand washed.
Here are the items you will need to hand wash your toys:
- Wool Wash (I prefer a no-rinse wool wash like the one from Soak) or Gentle Laundry Detergent
- Clean Sink that you can plug up, or a Wash Tub
- Clean Towel
- Drying Rack [Canadian Link]
- Dehumidifier (optional, but definitely recommended, especially if you live in a humid climate)

To hand wash your amigurumi toys, plug your sink up, squeeze a little bit of your chosen detergent into the sink (a little goes a long way. I will typically use about 1 tsp of Soak wash to 3-4L of water), then fill the sink up with some lukewarm water.
Submerge your toys in the water fully and allow the fibrefill inside the toys to soak up the water. You can speed this process up by squeezing your toys under the water like a sponge. Take care to not wring your twist your toys while you are doing this.

Allow the toys to soak in the detergent solution for about 10 minutes. Make sure to squeeze it occasionally while they are soaking.
After 10 minutes of soaking, you may notice the water looking a bit murky. That’s usually just a mixture of the detergent, dirt, dust, or grime.

Take the toys out of the water, making sure to squeeze most of the water out of the toys with your hands. Release the water from your sink and give your sink a quick rinse.
Fill the sink back up with some clean water, then put your toys back into the water. Squeeze the toys under the clean water a few times to rinse the detergent out.
With a no-rinse wool wash, you technically do not have to rinse it again. However, I prefer to give it a quick rinse after. If you are using regular gentle detergent, you will have to give it at least one or two more additional rinses (2-3 times).
Once the soap is rinsed out of your toys, remove them from the water, squeezing out as much water as you can with your hands. Place the damp toys into a clean towel, then gently squeeze the toys in the clean towel to absorb the excess moisture.

And finally, you can lay your toys out on a drying rack to air dry fully. It’s also a good idea to run a dehumidifier to help the toys dry out faster.
Machine Washing Your Amigurumi Toys
Amigurumi toys made with sturdier materials (cotton, 100% acrylic, cotton blends) can usually be safely washed in a washing machine. If you are extra cautious, you can check the label on the yarn you used for your toy to see if it is machine washable.
However, like I mentioned previously, amigurumi toys made with sturdier materials that have more delicate details should be hand washed. Machine washing can also agitate the fibres of the yarn, so toys that have been washed through the machine a few times will often show a bit of wear.

Here are the items you will need to hand wash your toys:
- Washing Machine
- Gentle Laundry Detergent (regular detergent works as well, but just keep in mind that certain ingredients in regular detergent may lighten the colour of your toys slightly*)
- Mesh Laundry Bag (I recommend the ones for delicates) [Canadian Link] or a Clean Pillowcase
- Clean Towel
- Drying Rack [Canadian Link]
- Dehumidifier (optional, but definitely recommended, especially if you live in a humid climate)
*Detergents with “enzymes” will usually have a slight bleaching effect on your toys.
To machine wash your amigurumi toys, simply place them into a mesh laundry bag and close the bag up. If you do not have a mesh laundry bag, you can also use a clean pillowcase. I personally prefer the mesh laundry bags because they allow better water-flow through the mesh, but a pillowcase can work if you’re in a pinch.
To close up the pillowcase, you can tie a knot on the open end of the bag. For mesh laundry bags that are large, you can also tie a knot on the zipper end of the bag to keep the toys from moving around too much inside the bag.

Place the mesh laundry bag into your washing machine, along with some other items that may need a light wash. Set the machine settings to the following:
General Setting: Delicates Wash Cycle.
Temperature: You can use Cold to Warm water, but never set it to Hot. Hot water can damage the yarn fibres, especially for acrylic yarn, which can melt when it comes in contact with hot water.
Spin: The spin should be set to low.
Soil Level: If your machine has the option for soil level, you should set it to “Light” or the lightest option available on your machine.

After this, you can just start the machine, sit back, and wait for the cycle to finish running. After the cycle is over, you can remove your toys from the mesh laundry bag and set them onto a drying rack to air dry fully. If your toys are a little misshapen from the wash cycle, reshape them with your hands while they are still damp.
If you live in a humid climate, your toys will take a longer time to dry, so it’s a good idea to run a dehumidifier to help the toys dry quicker and prevent it from getting moldy.
If any of your toys are suffering from the stuffing getting lumpy, you can toss your fully dry toys into the dryer and use the “Air Fluff” setting on the dryer. Make sure that the setting you use on the dryer uses no heat.
Anyway, I hope you found this post helpful! Which method do you use and why do you prefer it? Let me know in the comments down below!
Please do not reprint, sell or claim this post as your own. If you wish to share this post, you may link to this blog post. Please do not copy and publish the contents of this blog post onto your site.

