
Amigurumi, Animals, Chinese New Year, Free Patterns, Holidays
Free Year of the Snake Lunar New Year Amigurumi Crochet Pattern

Dec
Welcome the Year of the Snake (蛇年) with this charming snake amigurumi crochet pattern! Chinese Lunar New Year is once again upon us, and 2025 is the Year of the Wood Snake!
Meet Tiggy the Snake – he doesn’t stand, but he does slither (or rather, lay around- see Notes & Guides for display tips!). The Lunar New Year is a time of celebration, tradition, and creativity, and what better way to mark the occasion than with a handmade creation?
This year, I’m excited to introduce my Lunar New Year Snake Amigurumi Pattern! Whether you’re crafting to decorate your home, to gift to loved ones, or to simply welcome the new year with something special, this pattern is perfect for bringing a bit of festive charm to your crochet projects.

For the bigger Snake, I used Premier Parfait Chunky in Key Lime, Peach, and Yellow.
Note: To protect my work, I have disabled right click and printing on my site because I have experienced theft in the past. Please do not copy my patterns in any way. By copying or distributing my patterns without permission, you are making it difficult for designers like me to continue doing what I love. Doing so also discourages me and will prompt me to stop sharing my patterns freely. If you wish to utilize the free patterns, you may do so on my site. Thank you so much for your understanding and for being respectful!
If you have an issue with how I choose to share my free patterns on my site, read this.
If you wish to print out the pattern, you can purchase the ad-free, printable PDF of the Lunar New Year Snake pattern from my shop. The PDF also includes a few extra photos.
By purchasing the printable version, you are supporting me directly. Your support allows me to continue to create new patterns and maintain the site! 🙂

To translate this post, you can copy the URL and paste it into Google Translate to translate the entire page. Without further ado, let’s get into the pattern!
New to Amigurumi? Find video tutorials on my YouTube Channel!
**Disclosure: Some of the links in this post are affiliate links. This means that, at no additional costs to you, I will earn a commission if you click through and make a purchase. You can read a little more about that here!
Revisit my Lunar New Year patterns from previous years!
I started this series back in 2019 when I first started my blog. It’s been 7 years now, and I’m so excited to continue this series until I’ve designed all 12!


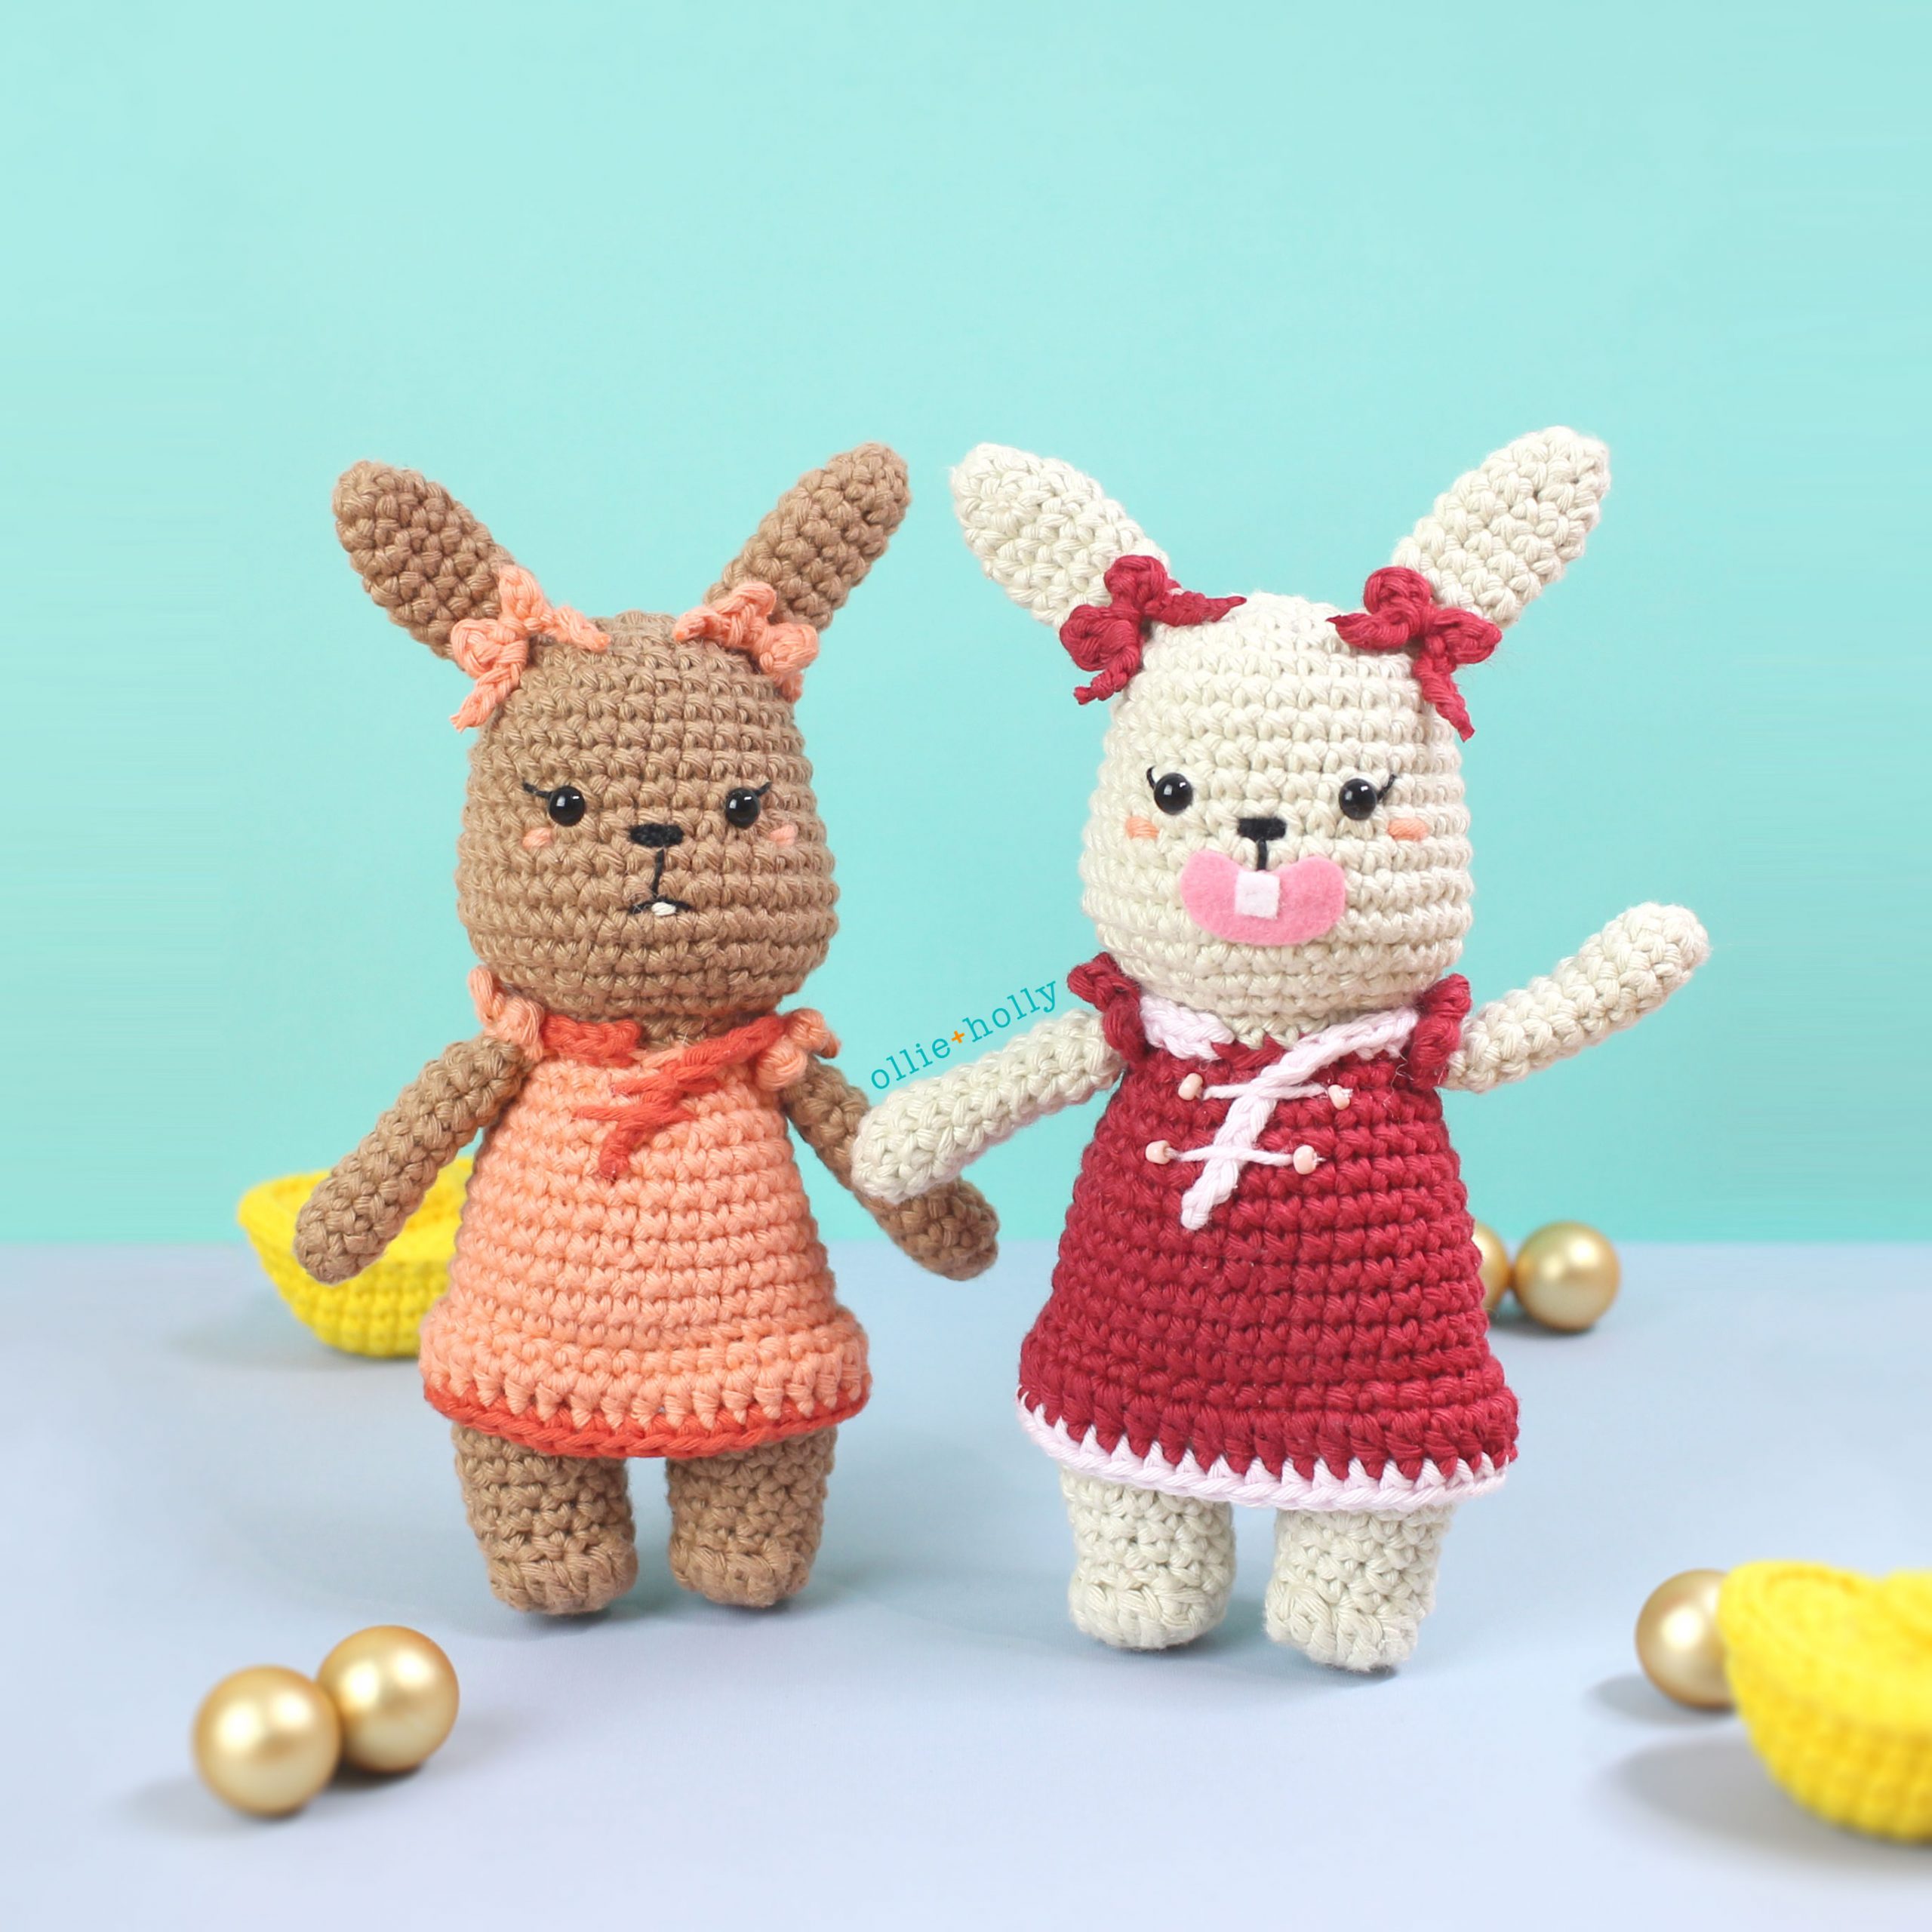

Click on the photos to visit the patterns!
Yarn I Used
I used Paintbox Yarns Cotton Aran for this crochet amigurumi plushie and Scheepjes Catona for the tongue. Feel free use any yarn as long as you correspond your hook to the weight of your yarn. You can also easily size up/down by using thicker/thinner yarn, just make sure to change the size of your hook accordingly.
I used 7g Red Wine, 4g Mustard Yellow, 15g Lime Green.
Please keep in mind that the exact amount of yarn you use will depend on your personal tension and the type of stitch you use, I’m merely providing the amount I use to give you a better idea of how much you might need. Each skein is 50g.
Note about the Yarn: For the tongue, use yarn that is 2 sizes thinner than the main yarn you are using. For instance, if you are using thicker chenille yarn (size 6) for the body, make the tongue with worsted or aran weight (size 4) yarn.
For the bigger Snake, I used Premier Parfait Chunky in Key Lime, Peach, and Yellow.


Gauge
5 Round Circle = 1.5” with a 2.75mm (C) hook
Note: I am working with the x-stitch (yarn under/yarn over single crochet). If you are working a standard sc, go down a hook size.
Gauge isn’t super important for amigurumi, but I included it just in case you want to check your gauge. Being a little off should not affect the final product too much. You can learn more about how to measure gauge for amigurumi here!
Free Chinese New Year Snake Plushie Stuffed Animal Crochet Amigurumi Pattern
The difficulty level of this pattern is Confident Beginner and this pattern is written in US crochet terminology. All the photos in this pattern are worked right-handed.
If you have any questions, you can also reach out to me for help. I will respond quickest through DMs on Instagram, but you can also just fill out a contact form here.
The finished Snake measures to be roughly 4.5 in (11.5 cm) tall.
Please do not reprint, sell or claim the pattern as your own. If you wish to share this pattern, you may link to the free pattern on the blog. Please do not copy and post the pattern onto your site.
TERMINOLOGY
st(s): stitch(es)
ch: chain
sl st: slip stitch
sc: single crochet
hdc: half double crochet
inc: two single crochet in one stitch
dec: invisible decrease- single crochet two stitches together through the front loops only
BLO: crochet only in the back loops (loop away from you) of each stitch
FLO: crochet only in the front loops (loop closest to you) of each stitch
(…) x #: repeat anything in the parenthesis however many times the number indicates
[#]: total number of stitches for that row
#sc: one sc in the following # stitches
THINGS YOU NEED
- Paintbox Yarns Cotton Aran (#4, or 10-ply) yarn – I used 7g Red Wine, 4g Mustard Yellow, 15g Lime Green.
Please keep in mind that the exact amount of yarn you use will depend on your personal tension and the type of stitch you use, I’m merely providing the amount I use to give you a better idea of how much you might need. Each skein is 50g. - Scheepjes Catona Yarn (Fingering/#1/4-ply) – I used a little bit of Soft Rose (409)
- 2.75mm (C) & 2.25mm (B) Crochet Hook – Adjust the hook size according to your tension/yarn weight
- Scissors
- Darning Needle
- Locking Stitch Markers
- Polyester Stuffing
- DMC 6-Strand Embroidery Floss – Black
- Embroidery Needle
Optional:


Notes & Guides
This pattern is worked in continuous rounds unless otherwise stated. Mark the first stitch of the round with a stitch marker to help keep track of where the beginning of the round is.
Seamless Join in the Round – Cut your yarn tail, fasten off, and thread your yarn tail onto a darning needle. Locate the 2nd st of the round, insert your needle under that stitch and pull through. Insert your needle into the centre of the final st of the round and out the back. Weave the tail into the back of the work. Doing so creates a false stitch on top of the first stitch of the round.
Working into a Chain – When looking at your chain, you’ll notice that the front of the chain looks like a string of v’s stacked on top of each other. And when you flip it over, you’ll see that there are little bumps behind each chain.
When working into a chain, I like to start in the back bumps of the chain instead of going through the chain itself. Do so by inserting your hook into the bump and working your st as usual.
If you are working around the chain, you’ll start off by working into the back bumps first, then when you reach the end, continue along the front of the chain (the neatly stacked v’s), making sure to go under both loops of the v.
This method creates a cleaner edge when working flat. And when working around the chain, the centre of the piece will look a little less gappy. You are free to use your preferred method.
Closing the Hole – To close the hole, fasten off and thread the yarn tail onto a darning needle. Insert the needle under the front loop of the next stitch and pull through. Repeat with the rest of the stitches, then pull on the tail to close the hole. Weave the tail into the centre of the hole to hide the tail. I personally like to decrease down to 12 sts, then closing the hole as opposed to decreasing down to 6 sts. I find that it creates a less puckered closure. But if you are having a tough time closing the hole with 12 sts, decrease down to 9 sts with the optional extra round.
Jogless transition to BLO/FLO – Before transitioning into a BLO/FLO round, fasten off, seamless join in the round and weave the tails in. To pick up a stitch, start with a slip knot on your hook, insert your hook into the FLO/BLO of the false stitch from when you seamless joined in the round. Work the next stitch like you normally would into the FLO/BLO. Doing so reduces the “step” you get when transitioning into a BLO/FLO round. Feel free to use your preferred method.
Better Stripes with Amigurumi – To create more seamless looking stripes for amigurumi, change the final stitch of the round before your colour change into a slip stitch. Fasten off and work a seamless join in the round.
With a slip knot of the new colour on your hook, pick up a standing single crochet stitch in the false stitch created by the Seamless Join in the Round. Work the rest of the round as you normally would and repeat these steps when you have to change colours again.
Sewing Amigurumi Parts Together – Pin the loose part (the Ear in the photo example below, which I will be calling A) onto the base part (Head, B).
Thread the yarn tail from A onto a darning needle. *Insert the needle into B, immediately beneath the yarn tail and out the next space on B immediately below the next stitch of A. Pull through, then insert the needle through both loops of the next stitch of A. Repeat the steps starting from the *, going all the way around A. Thread the tail through B to hide the yarn tail.

Tips for Displaying Your Toy – Tiggy the snake is a little bit top heavy, so he will not be able to stand on his own. This means he’s better suited to be a toy, rather than a displayed item. However, if you want to display or pose your snake for photos, simply pin the tail down to a cork coaster and Tiggy will stay upright.
SNAKE TAIL

Make this piece first before you start the Head/Body.
With Lime Green yarn.
1 6sc in magic circle [6]
2 sc in all sts [6]
3 (sc, inc) x 3 [9]
4 sc in all sts [9]
5 (sc, inc, sc) x 3 [12]
6 sc in all sts [12]
7 (3sc, inc) x 3 [15]
8 sc in all sts [15]
9 (2sc, inc, 2sc) x 3 [18]
10 sc in all sts [18]
Fasten off, seamless join in the round, and weave the yarn tail in.
HEAD/BODY
Stuff as you go.
Starting with Red Wine yarn.
1 6sc in magic circle [6]
2 6inc [12]
3 (sc, inc) x 6 [18]
4 (sc, inc, sc) x 6 [24]
5 (3sc, inc) x 6 [30]
6 sc in all sts [30]
7 (2sc, inc, 2sc) x 6 [36]
8 sc in all sts [36]
Switch to Mustard Yellow yarn.
9 sc in all sts [36]
Switch to Lime Green yarn.
10 Work into the BLO for this round (see “Jogless transition to BLO/FLO” in Notes & Guides): sc in all sts [36]
11 sc in all sts [36]
12 11sc, inc, 3sc, inc, 4sc, inc, 3sc, inc, 11sc [40]
13 14sc, inc, 10sc, inc, 14sc [42]
14 15sc, inc, (5sc, inc) x 2, 14sc [45]
15 (7sc, inc, 7sc) x 3 [48]
16 sc in all sts [48]
If you are using safety eyes, insert the eyes between rounds 13 & 14. The eyes should be in the base of the 3rd st of each “5sc” from the set in the middle of round 14. See photos below.


17 (3sc, dec, 3sc) x 6 [42]
18 (5sc, dec) x 6 [36]
19 7sc, (dec, 2sc) x 3, (2sc, dec) x 3, 5sc [30]
20 8sc, (dec, sc) x 3, (sc, dec) x 3, 4sc [24]
Stuff the head fully. At this point, you can also put a shaker rattle into the head if you want.
21 Work into the FLO for this round: sc in all sts [24]
Switch to Mustard Yellow yarn.
22 sc in all sts [24]
Switch to Red Wine yarn.
23 Work into the BLO for this round: sc in all sts [24]
24-29 sc in all sts [24] *6 Rounds*
Switch to Mustard Yellow yarn.
30 sc in all sts [24]
Switch to Lime Green yarn.
31 Work into the BLO for this round: sc in all sts [24]
32 sc in all sts [24]
Line the stitches of the Tail to the first few sts of the Head/Body piece.
33 6sc through both the Tail and the main piece (see photo below) to join the two pieces together, these 6 sts will be hidden in the middle and you will no longer work into them in the next rounds. Continue around the Head/Body piece: 18sc (mark the first st sc, this is now the first st of the round), around the remaining sts of the tail: 12sc [30]

34 18sc, (sc, dec, sc) x 3 [27]
35 18sc, (sc, dec) x 3 [24]
36 (sc, dec, sc) x 6 [18]
37 (sc, dec) x 6 [12]
Optional 38th round: (sc, dec, sc) x 3 [9] (See “Closing the Hole” in Notes and Guides above for more details.)
Stuff both the body and the tail fully with the help of some chopsticks, fasten off, and close the hole. If you notice gaps near where the tail and body connect, use the remaining yarn tail to sew the gaps closed, then weave the tail in.


HAT DECORATION
with Buttercup Yellow yarn
Start with a slip knot with a slightly longer tail. Ch 2, sl st in 2nd ch from hook [1]
Fasten off and leave a tail to help with Hat assembly.
TONGUE
Alternatively, you can just use a strand of yarn for the tongue (see Assembly for photo).
Use a 2.0mm hook and Scheepjes Catona 409 (Soft Rose) yarn.
Ch 8, start in the 2nd ch from the hook: sl st, sc, ch 3, start in the 2nd ch from the hook: sl st, sc, along the remainder of the chain: 2hdc, 2sc, sl st [9]
Fasten off and leave a tail for sewing.

ASSEMBLY
- Embroider lines on the hat like shown in the photo below, dividing the circle up into 6 different segments with the yarn. At the base of the hat, there should be 6 sts between each line.
- Attach the Hat Decoration piece to the centre of the top.

- For the Collar: Locate the exposed front loops from round 22 and find the centre stitch. With a slip knot of the Mustard Yellow yarn on your hook, insert your hook into the stitch directly to the left of it (right, if you are left-handed). Work 23sc, all the way around, leaving the centre-most stitch unworked. Fasten off and weave the tail in.
- With the Mustard Yellow yarn, embroider the lines on the shirt. Do one vertical line down the centre/front, then two short horizontal lines across the top of the vertical line.
- With 6/6 strands of Black embroidery floss, embroider in the mouth one round below the eyes. You can play around with the style of mouth until you find something you like. I personally like it when the mouth looks like a wavy “w”. Additionally, you can also embroider two short lines above the nose for the nostrils.


- With pink embroidery floss or pink yarn, embroider a short line to the sides of each eye for the blush. If you like the look of the tongue below, you can lead the head/tail of embroidery out of the centre of the mouth. Dab a little bit of fabric glue to the base to secure it.

- If you are using the crocheted tongue, sew it to the centre of the mouth, directly below the mouth. To secure the yarn tails, thread the head/tail of the yarn out the same spot, tie a tight double knot, trim the yarn tails, then push the knot back into the head to hide the knot.

Please leave me a comment down below (or contact me) if you have any questions about this pattern. I would also love to see your creation so don’t forget to tag me (@olliehollycrochet) on Instagram or use the #olliehollycrochet! Follow me on Instagram to get updates on new patterns and to see what I’m up to on a daily.
If you find any mistakes in the pattern, please contact me and let me know! My testers and I do my best to catch my mistakes, but we will still miss things here and there. Also, I will sometimes make mistakes while formatting the blog post.
You may sell products made from this pattern in small quantities but please clearly credit the design to me, Abby Sy of Ollie + Holly and provide a link to my blog www.OllieHolly.com. Permission is NOT granted for mass production or factory manufacturing of any kind. Thank you for being respectful and for your understanding!
Please do not reprint, sell or claim the pattern as your own. If you wish to share this pattern, you may link to the shop or the free blog post. Please do not copy and post the pattern onto your site.

Year of the Snake Lunar New Year Amigurumi Crochet (Pattern Only)


Just adorable! Thank you!
Loved doing this pattern so quick to work up. Thanks so much for sharing this.